Monday, May 24, 2010

aunt miriam's tomato chow chow

Hello dear readers,

Jena here, guest blogging from texas.. I was told I needed to introduce myself, so here goes.. I met Stephanie back in 2004 when we first got to berkeley and were both pretty clueless about.. most things. My first memory of Stephanie is meeting her in bible study and seeing her every Friday because we had back-to-back discipleship appointments with the amazing Allison -formerly Lee- Staton. I remember thinking that steph always smelled good and that I probably wasn't cool enough to be her friend. But Oh how things work out better than we could have thought and I have been blessed to call her not only my friend, but my incredible roommate, sister, co-worker and confidante among other things.

When Steph asked me to be a guest blogger for i ate everything, I was a little intimidated, truth be told. But hopefully this will be as entertaining for ya’ll as it was for me!

I was trying to think of something that screamed southern cooking for all of you Pacific-coasters and Mid-westerners, and I think I found it..

Aunt Miriam's Tomato Chow Chow is one of those things I grew up with, and didn’t think twice about eating as a side with my black eyed peas, lima beans and every once in a while on pork chops. The recipe I’ve grown up with is a creation of my Great Aunt Miriam, my Grandma’s twin sister, from Eupora, Mississppi. I hope you enjoy it as much as I do!

So here goes: First, you need to gather up 24 tomatoes.. best if they are fresh and homegrown.. but if you only have 3 tomato plants like we do, you can just use some nice store-bought ones. Dip them in hot water, let cool, and peel the skin off of every one.


Next, you’ll need 12 medium size onions.. chop them all up in varying sizes. Don’t worry about making them small; they’ll shrink while cooking. It is best to get some help for this one.. Otherwise after 4 onions, you won’t be able to see what you are doing from all the tears!


You can add three chopped green peppers if you want, for a little more flavor.

Get a HUGE pot to cook it all in.. cut your tomatoes over the pot, so you don’t lose all the yummy juices. Then, dump in your green peppers, onions, and a whole 16 ounce jar of hot peppers (drained). You can also use 25-30 fresh hot peppers, but the canned ones are just easier to deal with.


Add in ½ teaspoon of:

Cinnamon, ginger, allspice, dry mustard, cloves, black pepper, and celery seed. 2 Tablespoons of salt, 2 cups of sugar (mmm sweetness), and 1.5 cups of white vinegar.


Cover the pot, and let it cook on medium heat for about 3 hours. At first, you’ll think, “this looks too dry, should I add water?” the answer is no, because after about an hour or 2, you’ll think, “Dude, this looks like soup, when will it thicken up?!” You can take the cover off for the last 45-30 minutes to let the soupy-ness evaporate.


While everything’s cooking, you can start preparing your jars for canning. This recipe will fill up 24 half-pint jars. You can get these at your local supermarket. You can also buy old cool canning jars for interest, you’ll just have to buy new lids so they will seal correctly. Wash everything in warm water and rinse very well.

Once your three hours are up, and your kitchen smells amazing, heat up some water in smaller pots. Just follow the canning instructions that come with your jars, which say to heat the jars, and lids in hot water. They need to be heated so that when you pour the chow chow in, it won’t break the class, but don’t heat the rings, that would make it a little difficult to screw them on!

Fill the jars to ¼ - ½ inch from the top, and wipe the rim clean. Place the lid on top, and screw on the ring in one smooth movement.

The final step is to submerge all your filled jars in boiling water for 40 minutes for the canning process. This is a great time to grab a glass of wine, and relax, because it’s almost done!

Let the jars sit on a towel for at least 12 hours to make sure the seals are good. In the morning, you can take the rings off and test to make sure they are all sealed. If you have any that haven’t been sealed properly, you can just eat those immediately!

I know not everyone will be able to go through this whole involved canning process, so I made a bunch of smaller jars for you guys. If you want a sample, just email me your physical address: jenateresa [at] gmail [dot] com. I would LOVE love love to share this sweet-spicy-tomatoey goodness with you. But you have to promise to eat them with black-eyed peas.. and not say, "I don't eat anything we feed to the pigs" like some people say.

Here's the easy to read/print recipe:

Aunt Miriam's Tomato Chow Chow
Makes approx. 24 half-pint jars

24 Medium size tomatoes - dip in hot water and peel
3 Green peppers - chopped - optional
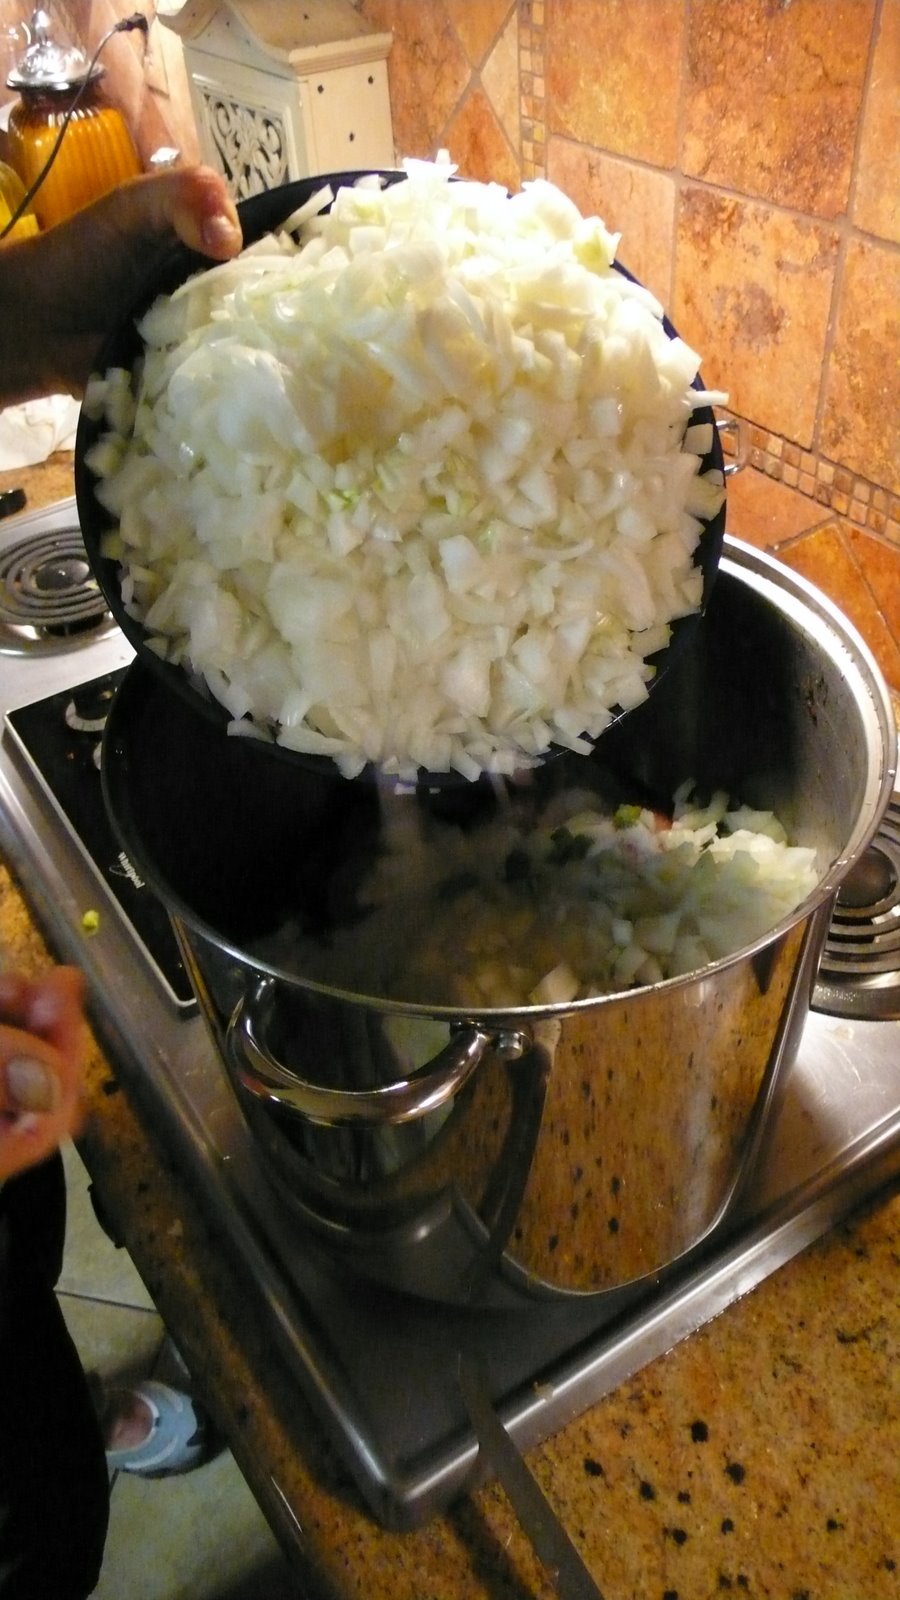
12 Medium size white onions - chopped
25-30 hot peppers - diced OR whole 16 oz jar pepper rings
1/2 teaspoon of each:
cinnamon
ginger
allspice
dry mustard
cloves
black pepper
celery seed
2 Tbs. salt
2 cups sugar
1-1/2 cups white vinegar

Takes about 3 hours to cook down
(when you fill jars leave at least 1/4" space at top)
Do not use assembly line method - fill one jar, then place lid and screw band on.
lower into boiling water making sure lids are covered for approx. 40 minutes.
Remove jars and cool 12 hours. Remove bands and test lids by pushing on top and trying to remove lid - if not easily removed, it is OK.

Yay! this was fun. Thanks Stephanie, for the opportunity to share this with all of you!
don't forget to send me your addresses!

Monday, May 17, 2010

flashbacks

We're going to do a little nostalgic thinking today, all the way back to the year 1996. What were you wearing/doing way back then? I remember sporting the unfortunate combination of glasses and braces, ginormous sweatshirts over leggings, and a perm (?) (if memory serves me right). I was head-over-heels in love with the US women's gymnastic team (I know you remember them too). Like every other 10 year old, pizza was my favoritest food EVER.


(This version from last week: Deb's dough, hot + mild sausage, prosciutto, green garlic, red onion, mushrooms, burrata and fresh mozzarella, basil. Note: burrata is way too watery to use for pizza. Note #2: chances are, I would not have liked this pizza in 1996. My pizza of choice was just like every other 5th grader: pepperoni surrounded by gobs and gobs of cheese. Non-watery cheese, may I add. Note #3: I need to get over my fear of baking with yeast.)

It was also around this time that e-mail and the world wide web came to the common folk in the form of AOL...loved that. And while we're in la-la land circa 1996, remember that ubiquitous e-mail forward that viciously circled around in the form of revenge on Neiman-Marcus for their $250 cookie recipe trickery? Turns out the story is false (an untrue forward?! Is this even possible?), but 14 years ago it felt good to stick it to the Neiman-Marcus man and send that darn outrage of a story to every single person I knew. 14 years later, it feels so good to taste what all the fuss was about.


I am not going so far as to say that these cookies are worth the purported $250, but goodness. Look at these guys. I'm usually pretty ambivalent about nuts in cookies, but the walnuts here round out the texture and make them soooooo great. Also, the copious amount of oatmeal used means you can kind of trick yourself into thinking that these are healthy for you... hello, whole grains! My zeal for whole grains must have been why I thought I should make eleventy-hundred cookies. Seriously, this recipe makes eleventy-hundred cookies (which is why I have a ton of cookie dough in the freezer. PS to my socal road trip buddies in 2 weeks: you better believe these cookies are coming for you.)


Oatmeal Chocolate Chip Walnut Cookies (aka the Neiman-Marcus cookies)
(I don't know to whom I should attribute this recipe, but I will give credit to Caroline's post for getting my butt in the kitchen)

5 cups oatmeal
2 cups butter, softened
2 cups white sugar
2 cups brown sugar
4 cups flour
2 teaspoons baking soda
2 teaspoons baking powder
1 teaspoon salt
4 eggs, room temperature
1 tablespoon vanilla extract
4 cups chocolate chips (I used a lot less)
3 cups nuts (I used walnuts), chopped

Preheat oven to 375. Line a couple baking sheets with parchment paper.

In a food processor or blender, blend the oatmeal until powdery. In a separate bowl, whisk the pulverized oatmeal with the flour, baking soda, baking powder, and salt.

In the bowl of a stand mixer fitted with the paddle attachment (or with a hand mixer), cream together the butter, white sugar, and brown sugar. Add the eggs and vanilla; blend well. Gradually stir in the flour mixture; listen to your stand mixer scream bloody murder due to the enormous amount of dough you are forcing it to mix. Stir in the chocolate chips and nuts (I like chopping them in the food processor right after the oatmeal) (the recipe also says to grate an 8 oz. bar of chocolate into the dough at this point, but Mr. Stand Mixer screamed, "Enough is enough!", so I gave him a reprieve. (He's very temperamental.)

Roll into balls, place on cookie sheets, bake for 8-15 minutes (depending on how big you make them). Just check--when the tops start to turn golden, they're done. Let cool on the sheet for a minute before digging in!

And for freezing the dough: roll into balls, freeze on a plate or other large flat surface until really cold, then transfer to Ziploc bag (this process ensures the dough balls won't stick to each other when you're dying for freshly baked cookies in the near future).

I'll be in Chicago next weekend (my former co-love is cooking partner Lisa is getting hitched!), so my girl Jena will be guest blogging! Hooray! She's pretty much amazing, so get excited!!

Monday, May 10, 2010

you asked for it

Happy Monday to you! And thank you so much to all of you who requested through phone calls, emails, and even this here blog to see some REAL cake decorating. This one's for you! I have something super exciting to show you...

But first off, a big round of applause to the product that made this all possible:


Sweetex, high ratio shortening. Oh yeah. Sweetex, I have a love-hate relationship with you. You help me make frosting, but you are also comprised of 50 kinds of trans fats and not to mention extremely difficult to clean off of anything you touch. Mmmm hmm. To top this all off, you have a shelf life of like infinity years. Not sure how I feel about that one. I feel the diabetes coming on. Thank you, Sweetex.


Cake, pre-decorating stage. Do you see some aberrant crumbs in the frosting? Oh good, me neither. Just making sure we're on the same page.

This week's class was mainly focused on roses. I was super nervous because...well, all bravado aside, I have been less than awesome at cake decorating up to this point. Furthermore, I had to miss the class where part #2 of the rose was taught. (Oh yeah, the rose was supposed to be taught over three weeks. The intimidation mounts...) Finally, and this is totally embarrassing to admit, but in previous classes the best decorator by far was a guy...a 60 year old guy who owns a gun store in town. I know, right? My competitive streak came out to play. (Note: it only surfaces at inappropriate times like cake class...or yoga class...but most of the time, you would have no idea I even care that much. Heck, it surprises me too.)


But look!! A rose!! This one a) got smashed on the way home and b) is tie-dyed. Fun, right? I was so excited that my first one came out.


As you can see, some fared better than others. Car rides and cake carriers are not kind to fledgling roses formed from the shaky hands of a bona fide amateur.


See that shell border along the side? Me and shell border are not quite friends at this point. We'll get there, I predict.


This one I did at home in a fit of euphoria. Probably the best ever!


Hi there, pretty.

You can use this torture device to fashion them, but I kind of prefer the humble chopstick. Wait, did I just find another use for a chopstick? Heck yes I did! Here's the process, in a nutshell: pipe Hershey Kiss-like base (if using flower nail, no base if using chopstick). Switch tips, pipe a breast cancer awareness ribbon ish thing on top of that while sliding nail/stick in between your fingers. Half arch half arch half arch. Then full arches opening up all around. Got it? Okay good.


Granted, this cake is a little more "Happy 80th Birthday, Punky Grandma" than anything else, but if you have any punky grandma birthdays coming around the bend and feel the need for an onslaught of roses, I'm your girl. I'll be the one furiously practicing with a decorating bag in one hand, chopstick in the other.

It's been awhile since I've posted a question, and since I bared it all (cakewise) to you, it's your turn: What skill did you totally suck at the first, second, third time around? Are you better at it now? How'd you get there? Note: does not need to be a transferable skill. (Unless you'd consider rose piping a transferable skill, in that case...I want in on your career path!)

Monday, May 3, 2010

easy as ice cream

(because sometimes making pie is anything but easy. To be discussed in a future post. Also because this ice cream is ridonk easy.)

I know what you're thinking. I don't have an ice cream maker. This post is completely irrelevant to my life. Next! But it's okay. What if I told you that the (soft serve!) ice cream I want to tell you about needs only one ingredient, doesn't require an ice cream maker, and literally comes together like magic?

Maybe you would say that it's too good to be true. And I get that. It is all too easy nowadays to feel tied down to reality and ugly truths, to think that there is no way out of your mess, to fear that what you see is all there is and all there ever will be.

But here is something that I am learning: the thing that has always been familiar to you (a banana, a life plan, your heart/soul/mind) can transform. It can transform in ways unimaginable. And bearing witness to this transformation, in turn, changes you.

Yes, the banana is what turns into ice cream! (See how relevant this is to your life? Also, brace yourself.)


First, grab a banana or two (one if you’re still totally skeptical if this is even going to work, two if you’re hungry). The ones that are slightly speckled with brown make the best ice cream, but you can get away with most stages of ripeness. Slice up banana(s) and place on plate; stick plate in freezer for at least an hour.


Take plate out. Use fork (if necessary) to pry frozen banana slices from plate. (If you left the plate in the freezer for longer than 3ish hours, give it a few minutes to defrost on the counter.) Dump bananas in your food processor or blender. (I hear you could also use a hand mixer.) Turn it on and let it run.


Soon, your bananas will look like minced garlic. You may think “how in the name of cuisinart is this supposed to make ice cream?” Believe in your bananas. They are working for your good.


Presently, your banans will come to resemble mashed potatoes and start getting stuck. At this point, open the lid and use a spatula to kind of break up the big icy banana lump and redistribute the mixture. You may have to do this a few times. Almost there!


I can’t adequately explain what happens next. There is this moment when the mixture morphs into something quite unlike minced garlic, quite unlike mashed potatoes. Ice cream! You may scream. This is totally normal.


At this point, you can start digging in. OR you could add peanut butter. OR…remember this guy? A spoonful of dark chocolate spread makes it go down soooo easy.


Blend just briefly to combine. 


To be honest, my life feels like mashed potatoes right now. Heck, I might still be in the minced garlic stage. (There aren’t any illustrative photos for evidence, so I can’t really be sure.) I do feel a bit pureed, like a metal blade is whirring through, chopping up all the frozen pieces, frequently getting stuck. The metaphorical ice cream seems like it is lifetimes away. But I think this banana ice cream waltzed into my life for a very significant reason: to remind me to keep my chin up, to hope. Hope for the sake of presenting a cheerful face for the world doesn’t really mean anything, but hoping for ice cream and knowing that it has been promised to you is quite different. There is good, dazzlingly good ice cream to come; I can almost taste it. So I keep the food processor running…and I hope.


Here’s to your ice cream, figurative or literal: hoping you may catch a glimpse of it today…or at the very least eat it by the heaping bowlful!